HVAC Repair and Installation in Mesa, Arizona
Looking for reliable HVAC repair and installation in Mesa, AZ? Here’s everything you need to know about HVAC repair and installation.
Did you know that heating and cooling account for nearly half of a home’s energy use in the U.S.? This means if your HVAC system acts up, you might start getting a higher bill, which may affect your budget.
But knowing when to repair, maintain, or replace your HVAC system can be a life-changer. It ensures that you remain comfortable throughout the year.
In this guide, we’ll cover everything you need to know about HVAC repair and installation, from common issues to understanding the best solutions for your home.
HVAC Installation: How It’s Done
Installing new HVAC in Mesa, AZ is a significant investment in your home’s comfort and energy efficiency. However, it’s a one-time cost that could considerably lower energy bills and provide a comfortable living environment for years.
Your HVAC is one of the most important components of your home, so if it is installed incorrectly, it can cause performance issues and higher energy consumption.
If you’re thinking of installing the entire system on your own, it can be a bit difficult without proper technical expertise. This is why it’s important to hire a professional who can handle everything for you without any hassle. And you don’t even have to go far.
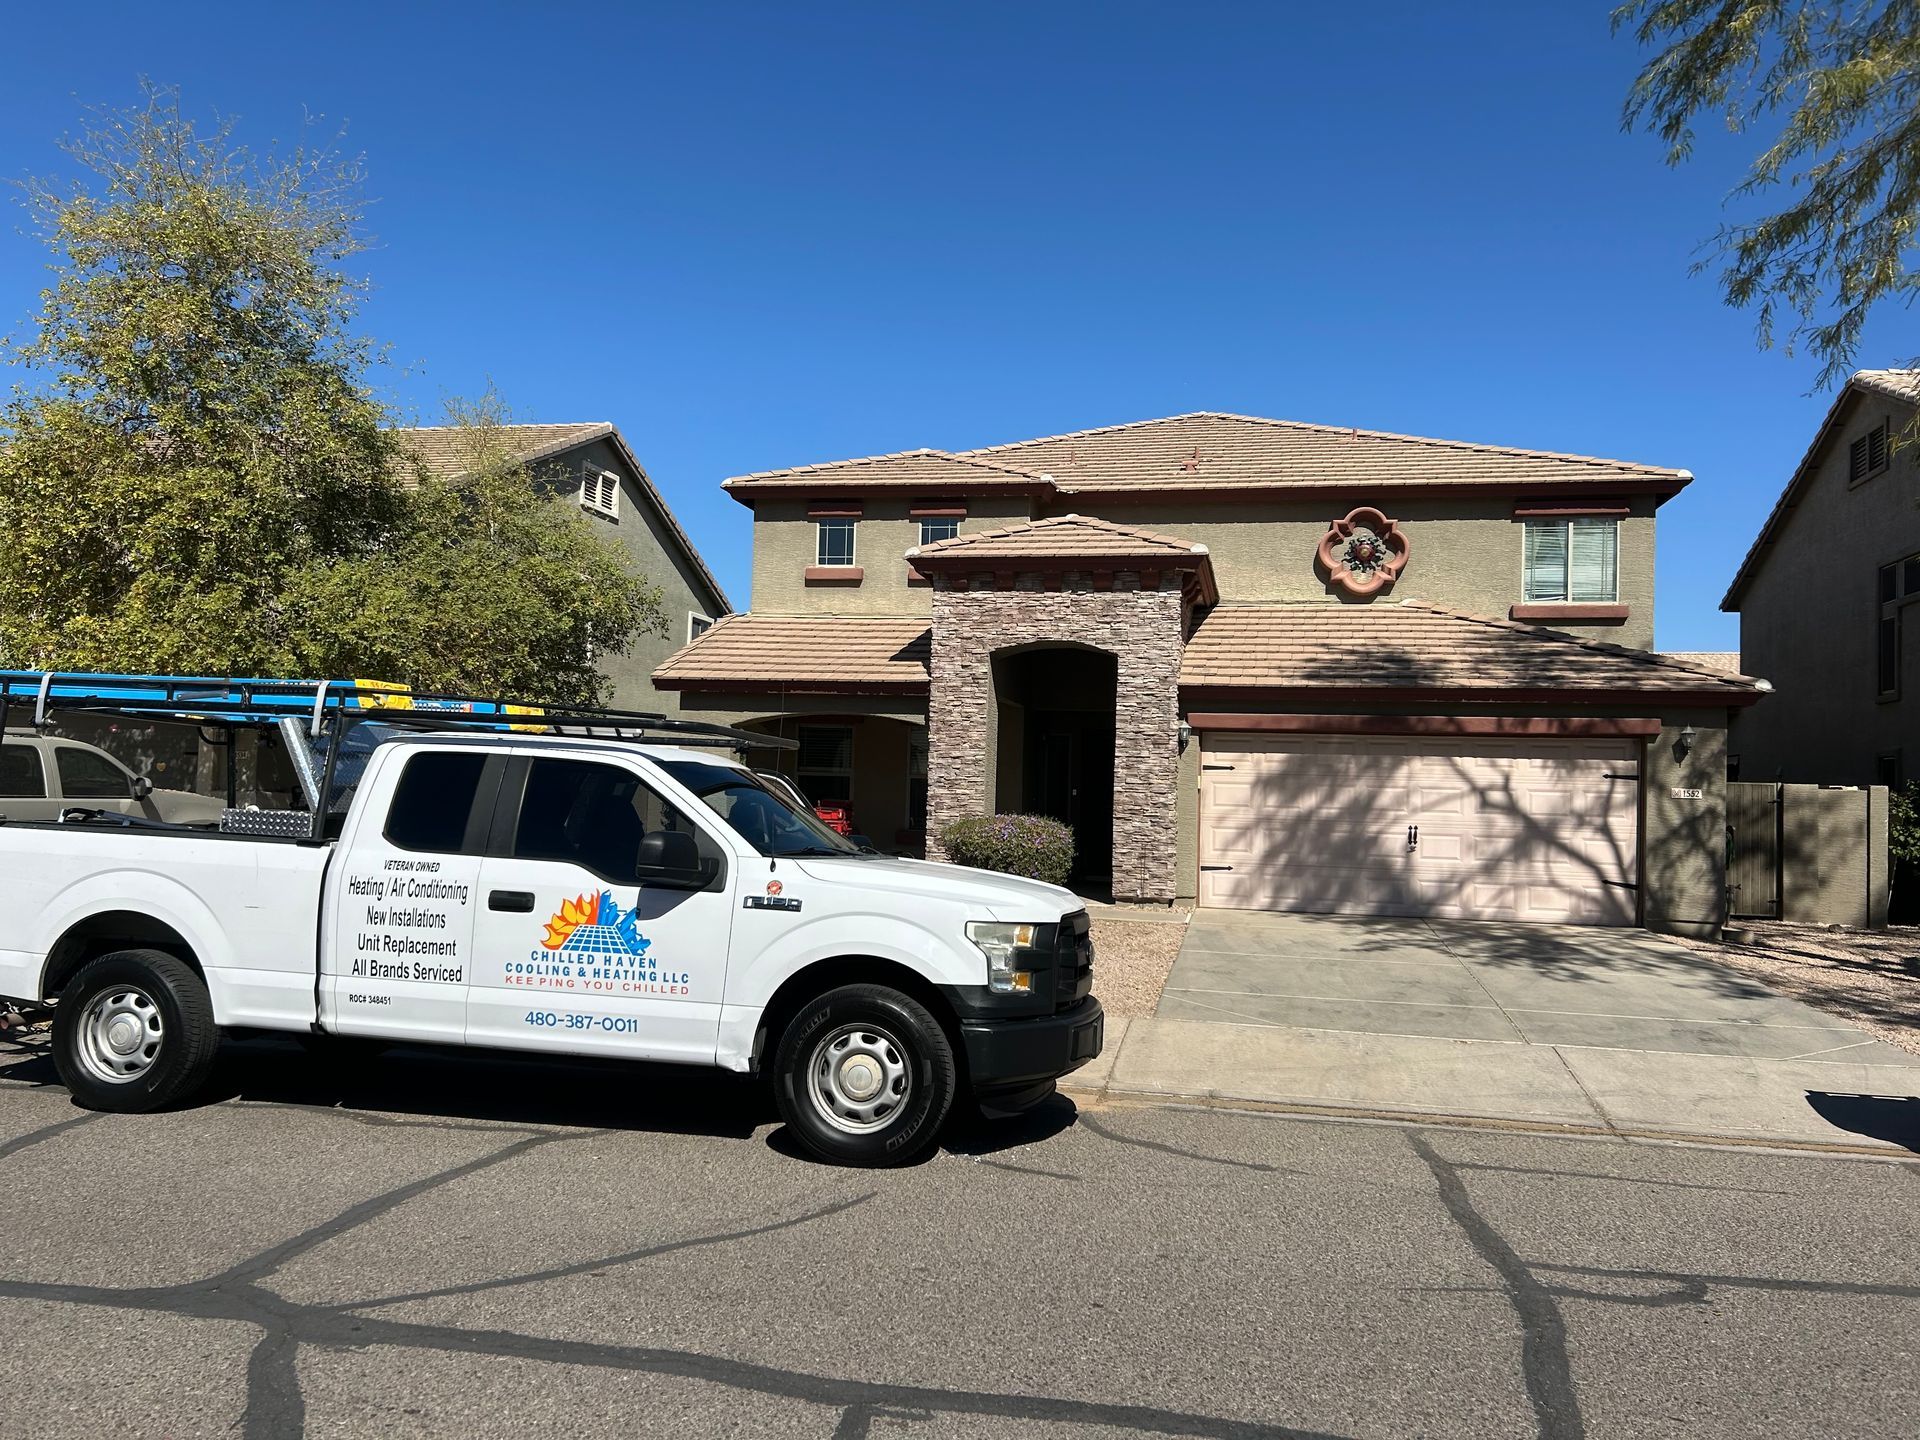
At Chilled Haven, we take full responsibility for the installation process, and that too at the most reasonable pricing. Even if there’s an emergency, our services are available 24/7.
How the HVAC Installation Process Works
1. Preparing the Installation Site
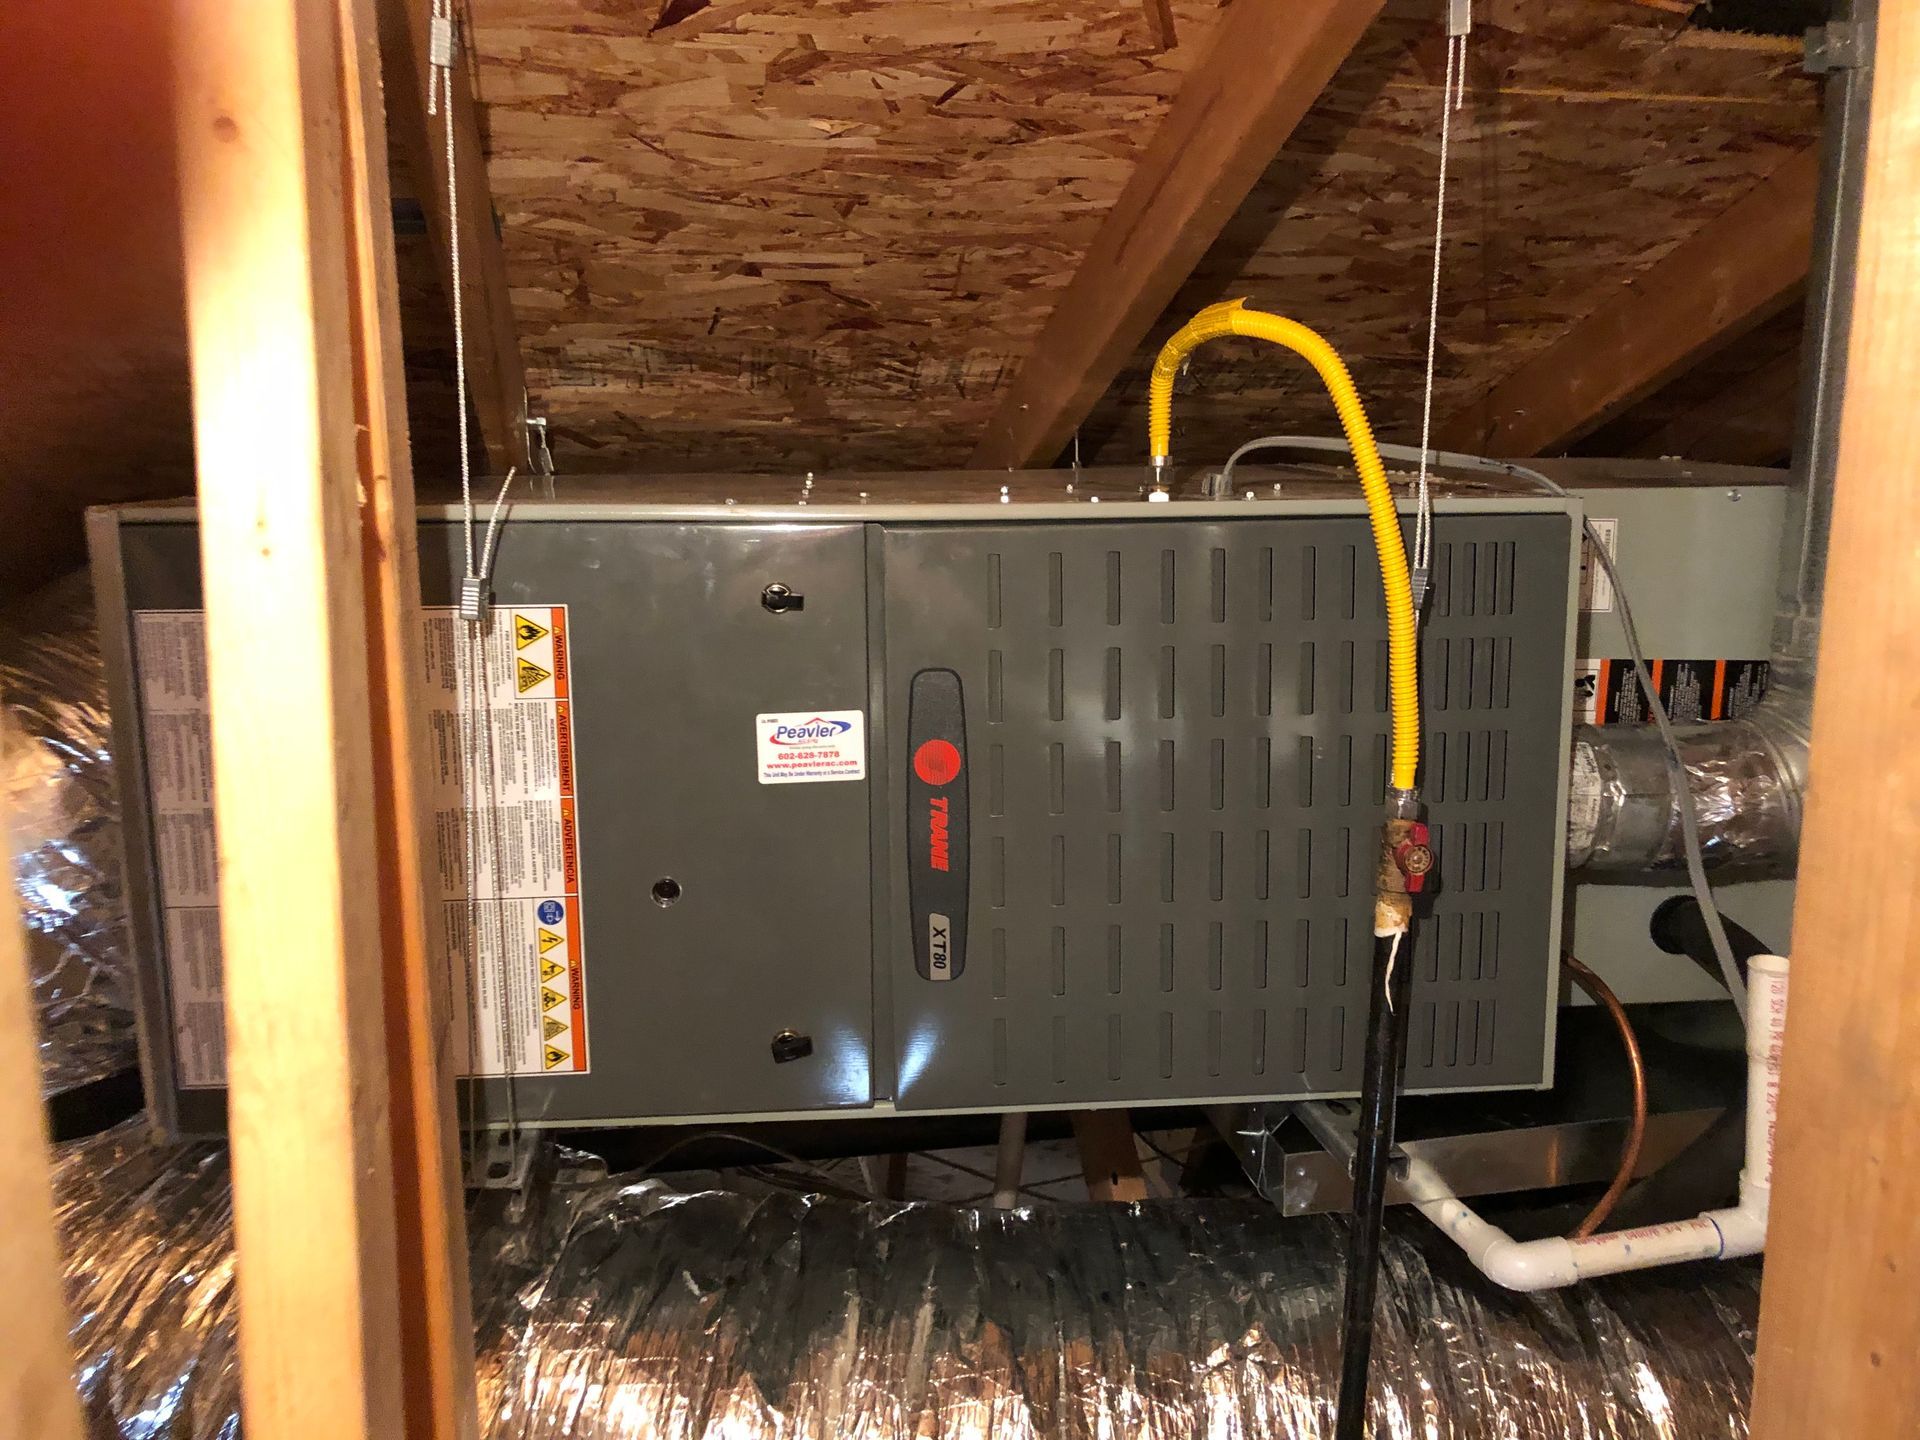
First, the team prepares the installation site especially if you’re replacing an old system. After that necessary adjustments are made to the space where the new unit will be installed, whether that’s a furnace in the basement, an air handler in the attic, or an outdoor condenser for air conditioning.
2. Installing the Indoor Unit
The indoor unit (such as the air handler or furnace) is installed in a location that is easily accessible and provides optimal airflow. The technician ensures that the unit is securely placed and connected to the appropriate ducts.
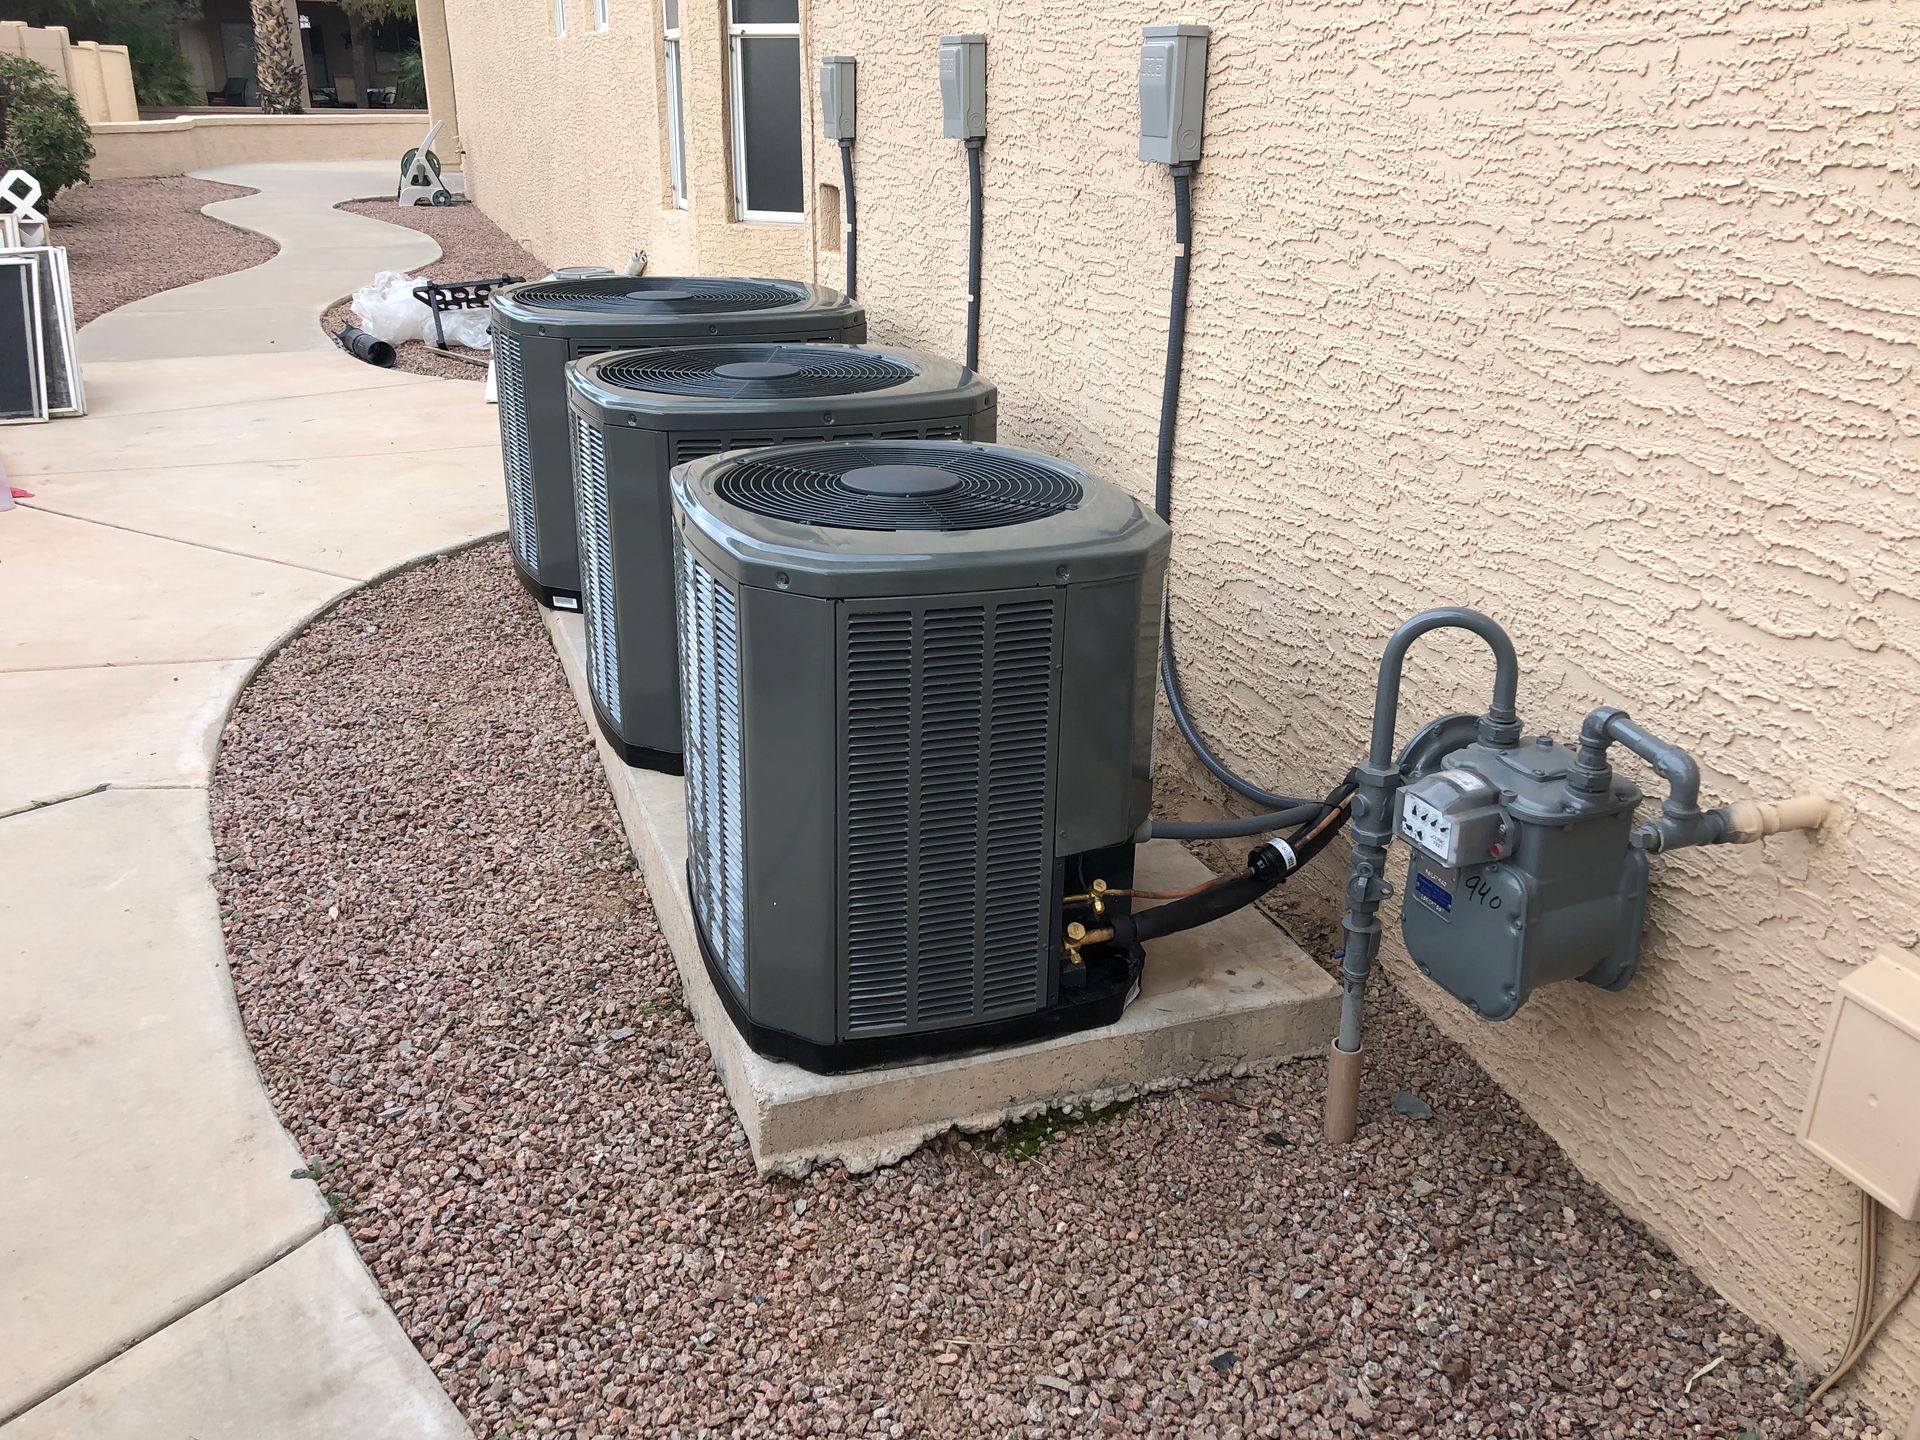
3. Installing the Outdoor Unit
For air conditioning systems, the outdoor unit is placed in a location that allows for good airflow and proper drainage. Our team again ensures that the outdoor unit is level and placed in a spot with sufficient ventilation for heat dissipation.
4. Connecting the Ductwork
Ductwork is connected from the indoor unit to various parts of your home. We make sure to check for any leaks, seal the ducts properly, and ensure there’s no obstruction that would hinder airflow. Good ductwork is important for the air to flow freely.
5. Electrical Wiring and Connections
After installing the indoor and outdoor, the technician connects the HVAC system to your home’s electrical system. It requires proper wiring so that connections are secure and the system receives a proper power supply.
6. Connecting the Thermostat
A thermostat is connected to the HVAC system to control the temperature. The technician installs the thermostat in a location that will read the room’s temperature accurately and ensure it is properly wired to control the system.
7. System Testing and Calibration
In the end, our team will turn on the system and test it. We’ll check the airflow, cooling or heating performance, and ensure there are no unusual noises or vibrations. Once the set is up and running smoothly, we’ll make some final adjustments so the system runs as efficiently as possible.
HVAC Repair: What You Need to Know
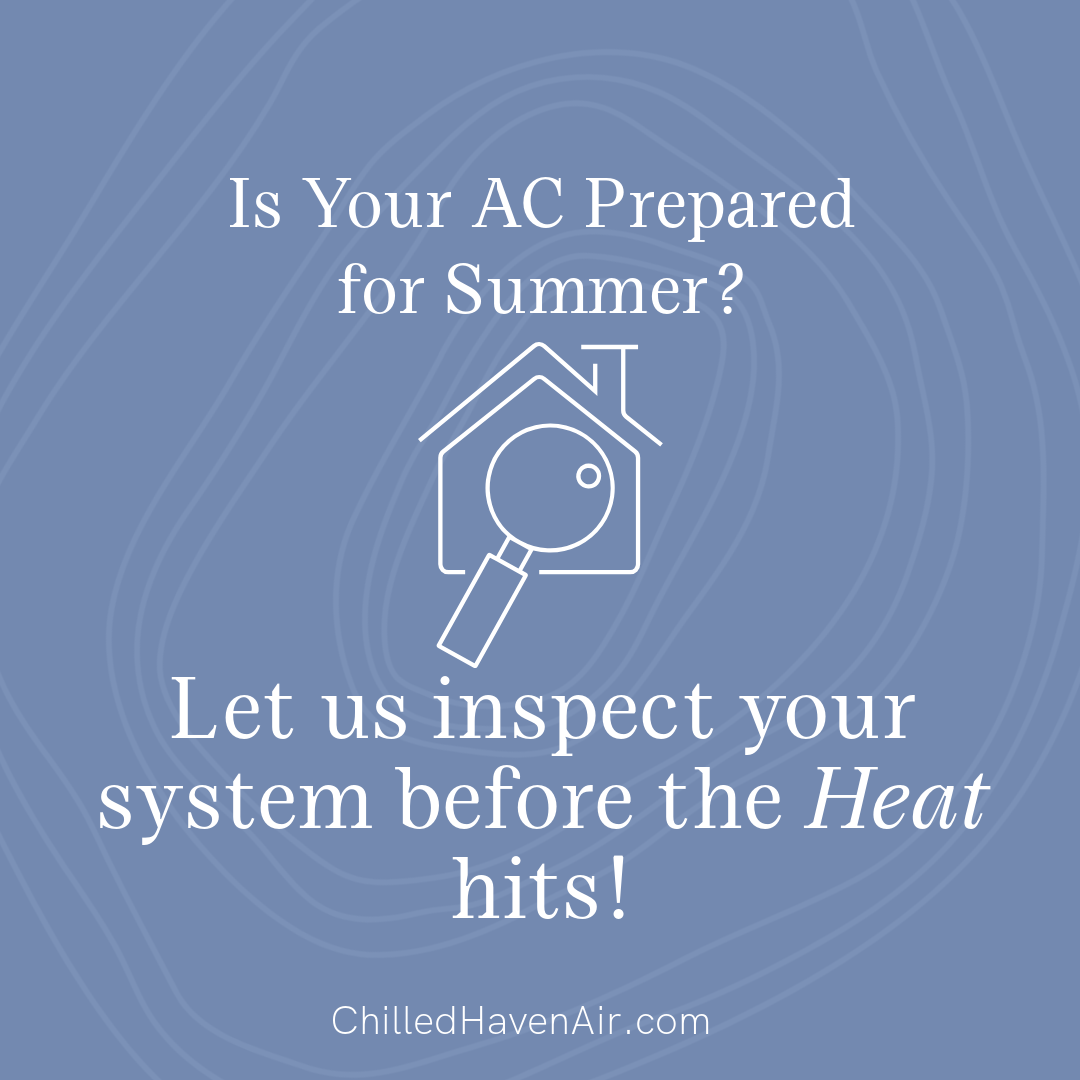
Before we jump onto how the HVAC and furnace repair in Mesa, AZ happens, let’s discuss the warning signs you need to look out for.
Signs Your HVAC System Needs Repair
Your HVAC system is essential for maintaining a comfortable home, but like any mechanical system, it can experience issues over time. If you notice any of the following signs, it is worthwhile to call a professional for AC repair in Mesa, AZ.
1. Inconsistent Temperatures Throughout the Home
If some rooms in your home are too hot while others are too cold, it could indicate an issue with your HVAC system. This might be caused by a problem with the ductwork, the thermostat, or the unit itself. An inconsistent airflow can affect your home’s overall comfort and energy efficiency.
2. Strange Noises Coming From the Unit
If you hear unusual sounds coming from your HVAC system, such as banging, rattling, or squealing, it could be a sign that something is wrong. For example:
● Banging could indicate a loose part or a mechanical issue.
● Squealing may suggest that a belt or fan is worn out.
● Rattling might be due to debris in the system or loose components.
Any of these noises should be checked by a technician to avoid further damage.
3. Poor Airflow
If your HVAC system is operable, but you don’t feel much air coming from the vents, it could be due to clogged air filters, a malfunctioning blower fan, or even ductwork issues. Reduced airflow means your system is working harder than it should, which could lead to higher energy bills and unnecessary wear and tear on the equipment.
4. Increased Energy Bills
A sudden spike in your energy bills without any significant changes in your usage could indicate that your HVAC system isn't running as efficiently as it should. This could be due to a variety of reasons:
● Dirty air filters restrict airflow
● A failing compressor or thermostat
● Refrigerant leaks, causing your system to work harder
If your bills seem unusually high, it’s a good idea to inspect your HVAC system to identify the root cause.
5. Short Cycling
Short cycling occurs when your HVAC system turns on and off rapidly without completing a full cycle. This can be caused by an issue with the thermostat, clogged air filters, or low refrigerant levels. It strains your system and leads to increased energy consumption and reduced comfort in your home.
6. Strange Smells
Unusual odors from your HVAC system shouldn’t be ignored. A burning smell might indicate a mechanical problem or dust buildup in the system. A musty odor could point to mold or mildew growing in the ductwork or evaporator coils.
If you detect any strange smells, it’s essential to have your system checked by a professional to prevent health hazards and further damage.
7. Water Leaks or Excessive Moisture
Water pooling around your HVAC unit or condensation on the walls and windows can signal a drainage problem or refrigerant leak. If left unaddressed, these issues can damage your system and lead to more severe complications like mold growth or system failure.
8. Your Thermostat Isn’t Responding
If your thermostat isn’t responding correctly—such as showing incorrect temperatures, not allowing you to adjust settings, or not turning the system on or off—it could be an issue with the thermostat itself or a problem with the electrical connections.
Since the thermostat controls your HVAC system, you must promptly address any issues with it to maintain home comfort.
Minor DIY AC Repair in Mesa, AZ
If there’s a minor HVAC issue, like changing an air filter or checking thermostat settings, you can easily handle it. Some simple DIY fixes that you can try to repair the HVAC system include:
1. Change the Air Filter
A dirty filter is sometimes the most common issue, causing poor airflow and leading to other issues. So, make sure to replace the filter regularly to keep your system running smoothly.
2. Check the Thermostat
Sometimes, the issue is as simple as recalibrating or replacing a faulty thermostat. So, always make sure it’s set correctly and test it to see if the system responds as expected.
3. Clean Debris from Around the Unit
Keeping the area around the HVAC unit free of dirt, leaves, and debris helps prevent blockages and ensures proper airflow.
Steps Involved in Professional HVAC Repair
If the issues aren’t resolved after your little DIY testing, you should hire professional HVAC repair technicians such as ourselves. So, here’s how our repair process usually works:
1. Inspection and Diagnosis
Initially, the technician will check the air filter, refrigerant levels, blower fans, and other components to identify what’s causing the issue. Additional tools may be needed to diagnose more complex problems, such as low refrigerant or a broken compressor.
2. Repair or Replace Faulty Parts
Once the issue is identified, the technician will repair or replace the faulty components. Common repairs include cleaning coils, replacing worn-out belts, fixing refrigerant leaks, or addressing issues with the thermostat. In cases of more extensive damage, parts may need to be replaced entirely.
3. System Testing
After the repairs are made, the technician will thoroughly test the system to ensure that it’s running properly. This includes checking airflow temperature consistency and ensuring that the system is cycling on and off correctly.
4. Cleaning and Maintenance
Often, HVAC repairs will include cleaning the unit and the surrounding areas. This may involve removing debris, cleaning air filters, and ensuring the system operates efficiently. It’s also a good time to schedule regular maintenance to prevent future breakdowns.
Cost of HVAC System Repair